Chocolate Oat Cookies with Almond Butter
When I want something chocolatey but don’t feel like turning on the oven, these Chocolate Oat Cookies with Almond Butter always save the day. They’re quick, they’re chewy, and they’ve got just enough sweetness to satisfy a craving without being over the top. Plus, they only need one bowl and a handful of ingredients I usually already have in the pantry.
What I love most is how flexible this recipe is. You don’t need to be exact. You just melt everything together, mix it up, scoop it onto a tray, and let them set. That’s it. The almond butter makes them rich and creamy, the oats give them texture, and the cocoa brings all the chocolate flavor without having to bake a single thing. I’ve made these on busy weekdays, late at night, and even while multitasking during a Zoom call. No shame—they always turn out.
These are the kind of cookies that work for snacks, dessert, or even a sweet little breakfast treat. You can batch them ahead, store them in the fridge, and grab one anytime.
Tips to Make This Recipe Work Best
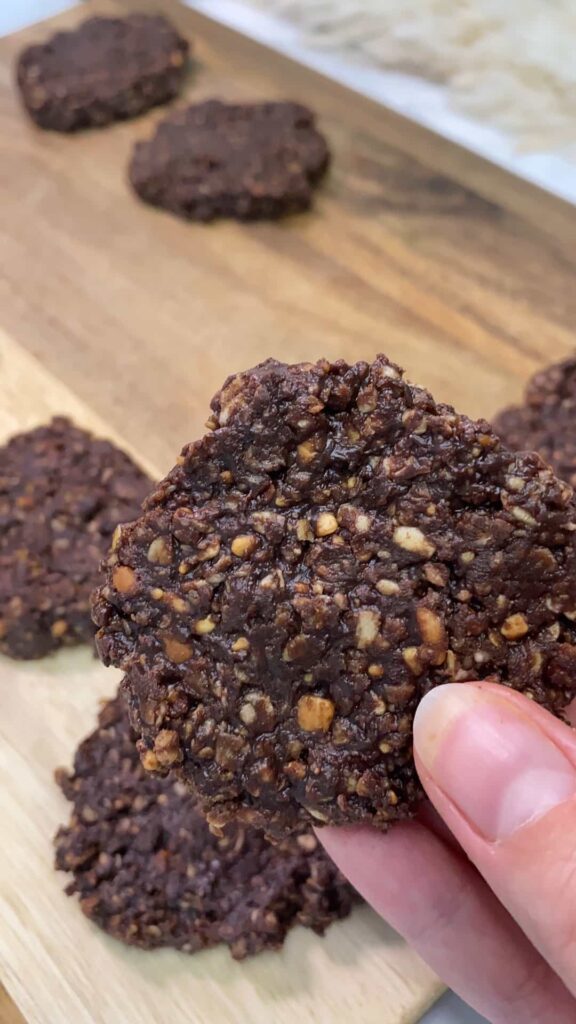
- Use quick-cook oats for the right texture—they soften quickly and help hold everything together. Regular oats will be too chewy.
- Salted butter adds a nice balance to the sweetness. If you’re using unsalted, just add a pinch of salt to the mix.
- If your almond butter is very thick, you can microwave it for 10–15 seconds to make it easier to stir in.
- Let the cookies fully cool at room temperature before moving them, or they might fall apart.
- You can always adjust the maple syrup to taste—start with 2 tablespoons, then add more if you want them sweeter.
Ingredients
- 2–3 sachets quick-cook oats (about 1 ½ to 2 cups / 135–180g)
- 2 tablespoons maple syrup, or to taste
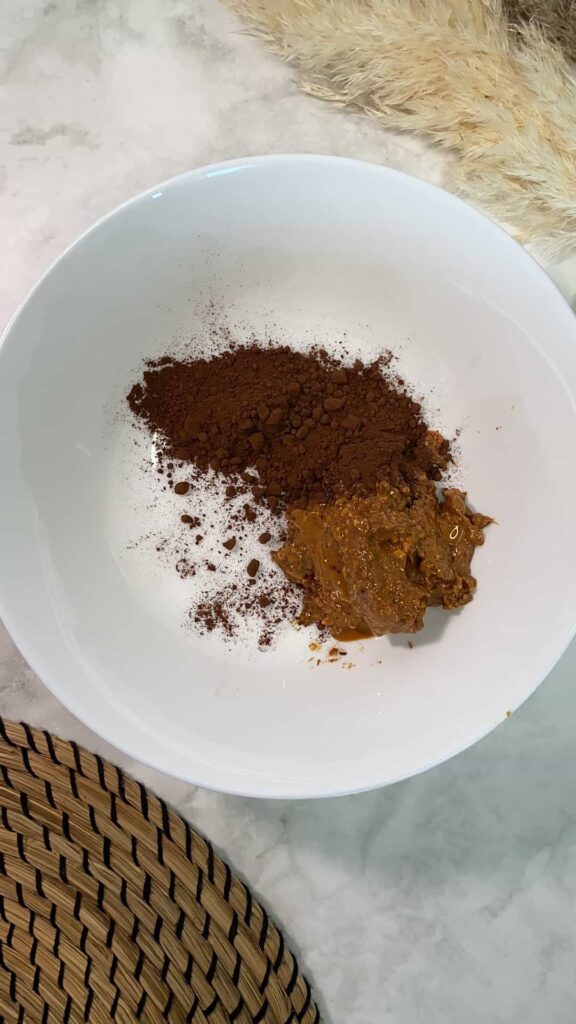
- 2 tablespoons cocoa powder
- 3 tablespoons creamy almond butter
- 3 tablespoons melted salted butter
- 1 teaspoon vanilla extract
Alternative Ingredients
If you don’t have almond butter, you can use peanut butter, cashew butter, or even sunflower seed butter. Just keep it creamy and unsweetened for the best texture.
You can replace maple syrup with honey or agave syrup. Each one brings a slightly different flavor, but they all work.
If you want a richer chocolate flavor, stir in a handful of mini chocolate chips before scooping the cookies.
Want them a bit more hearty? Add shredded coconut, chopped nuts, or chia seeds to the mix.
Step 1: Line Your Trays
Line two baking sheets with parchment paper or wax paper and set them aside. This keeps the cookies from sticking and makes cleanup easier.
Step 2: Mix Everything
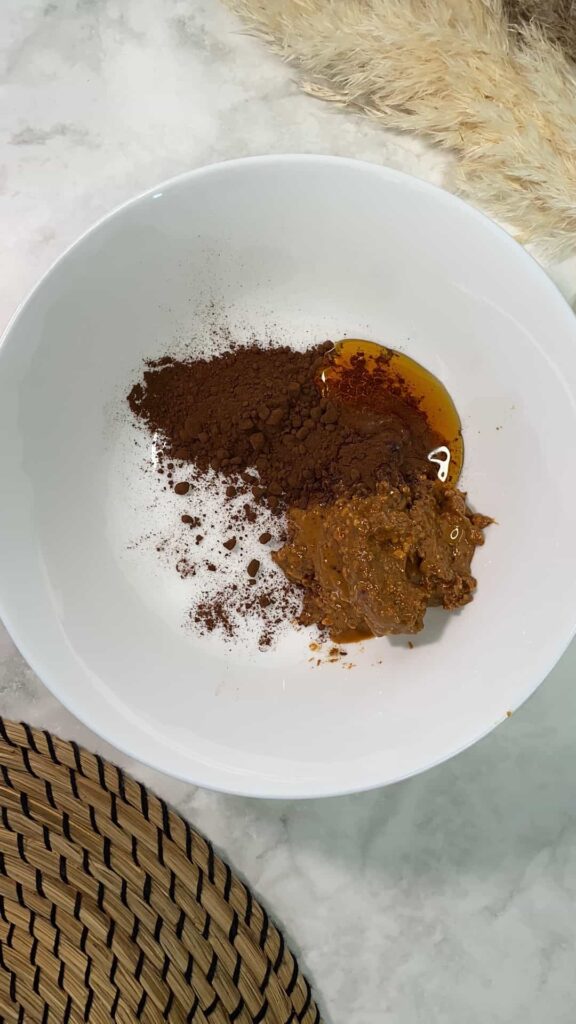
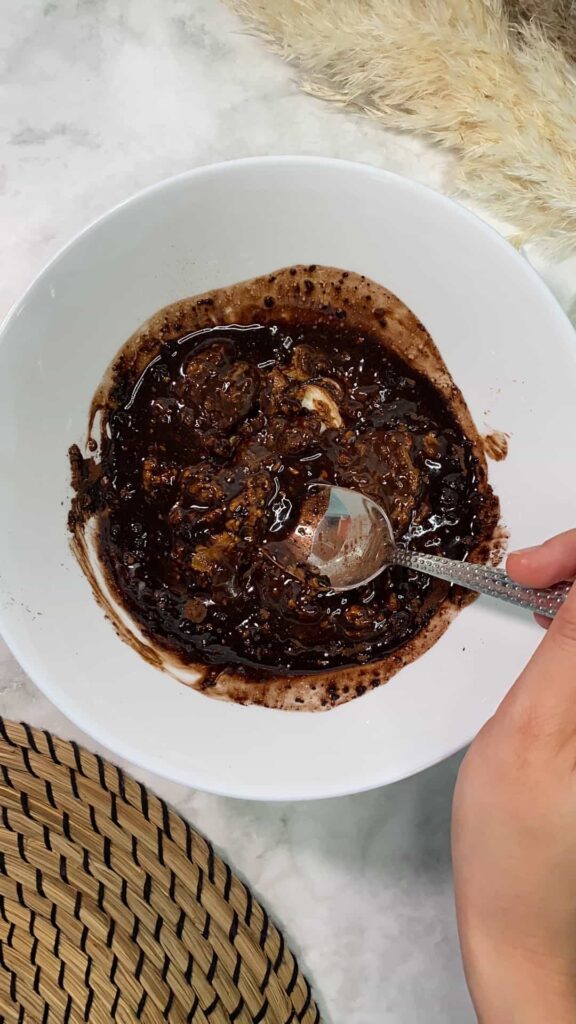
In a mixing bowl, combine the melted butter, cocoa powder, almond butter, maple syrup, and vanilla extract. Stir until the mixture is well blended and thick.

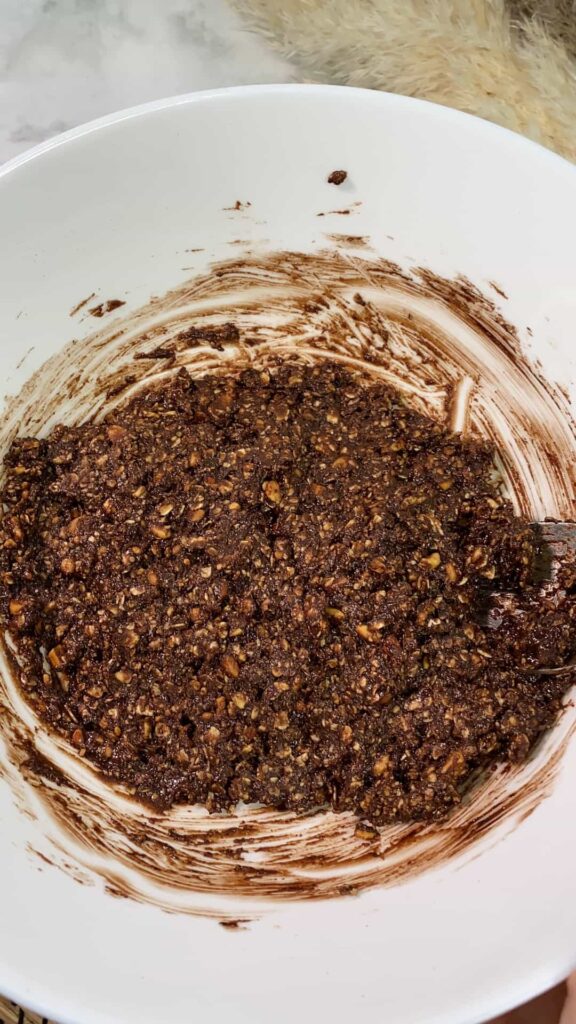
Step 3: Add Oats
Simply add two packs of instant oats.

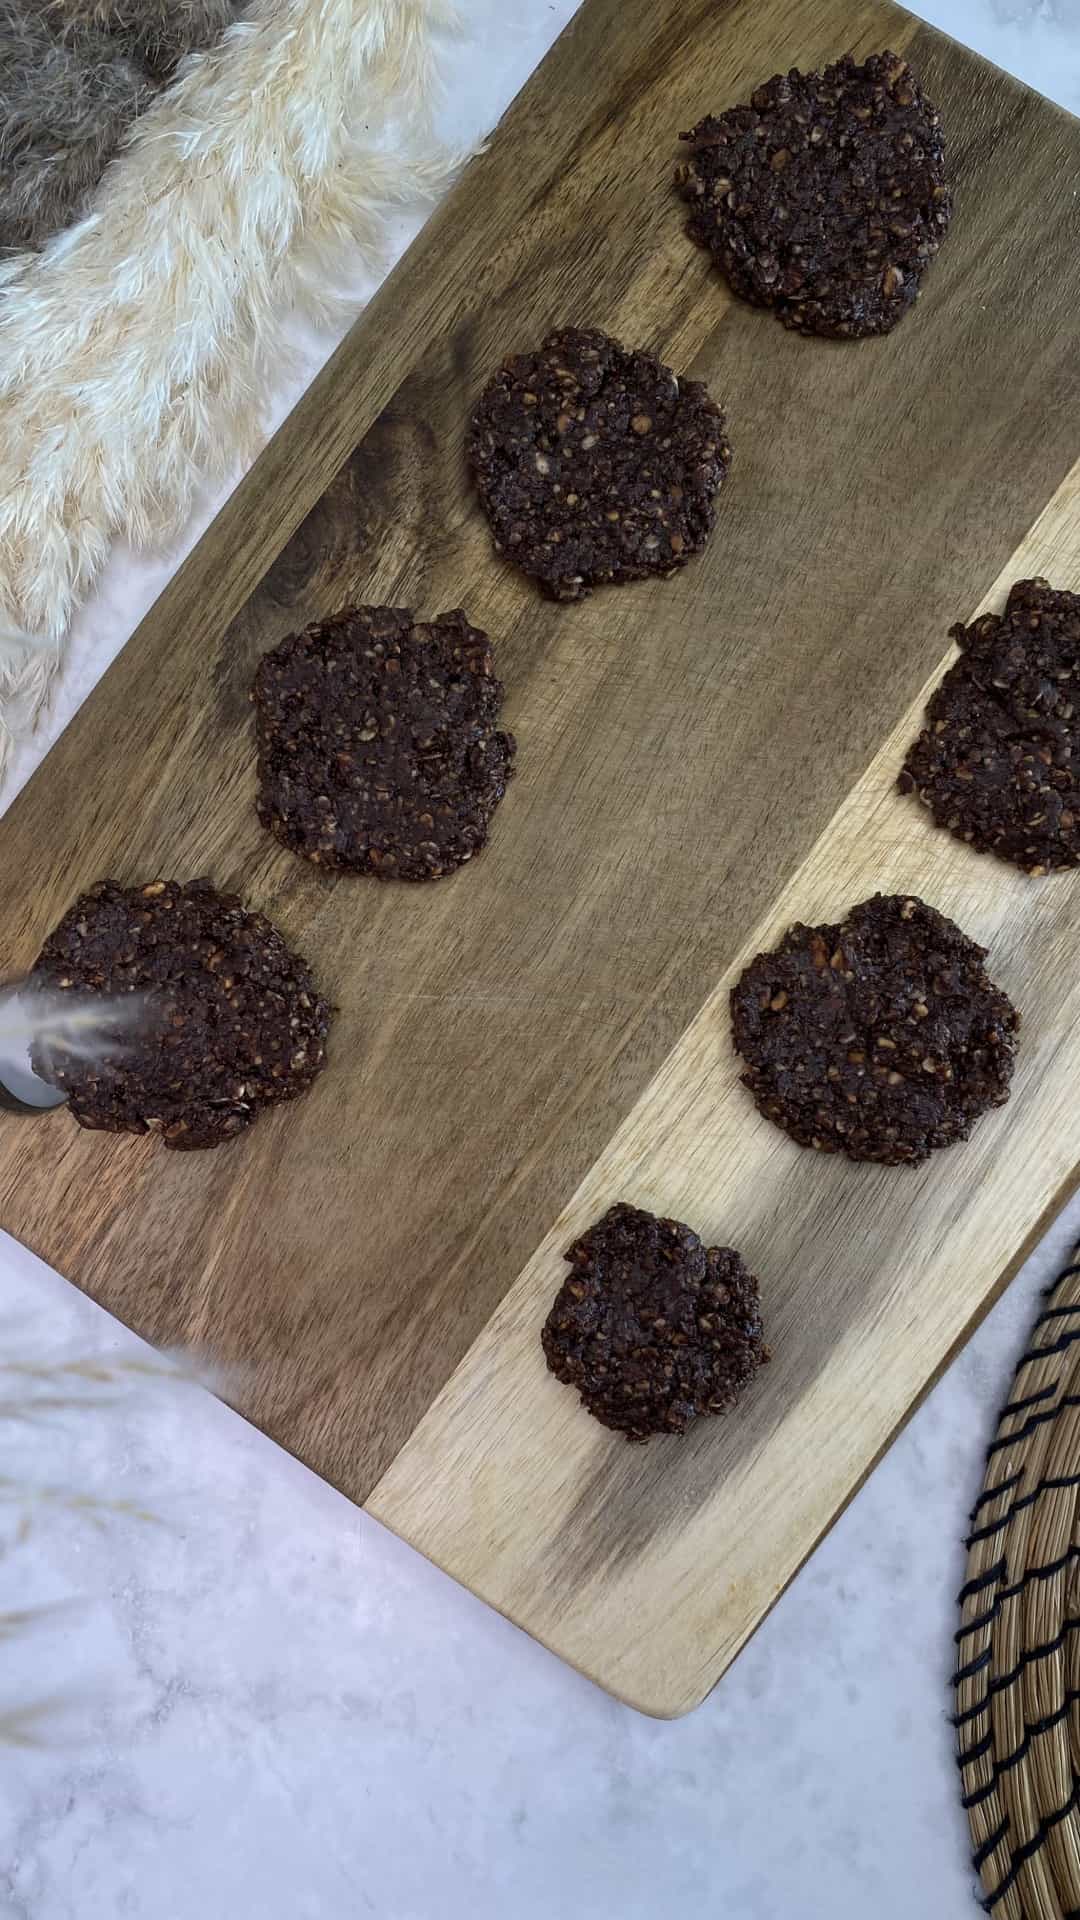
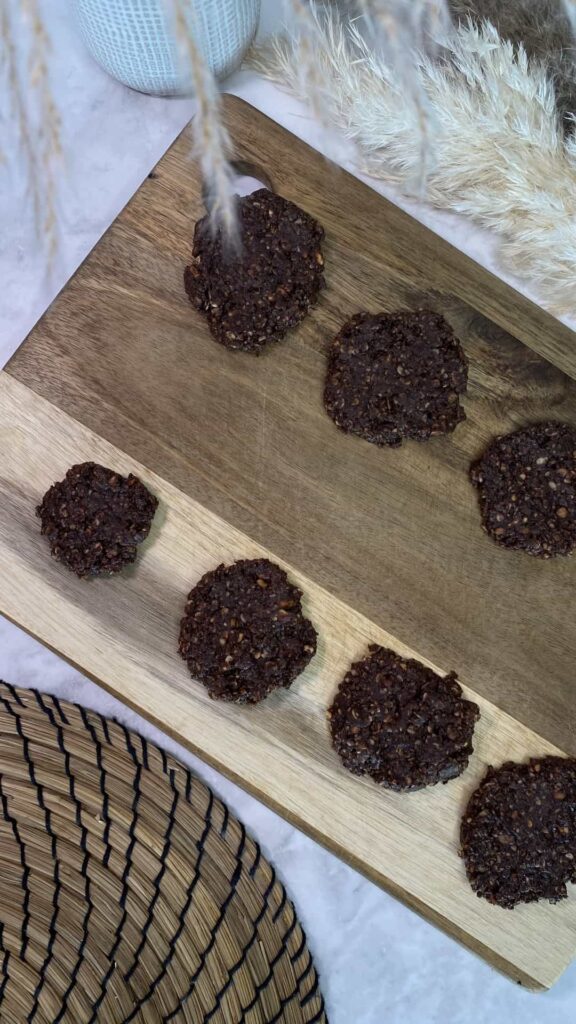
Step 4: Scoop the Cookies
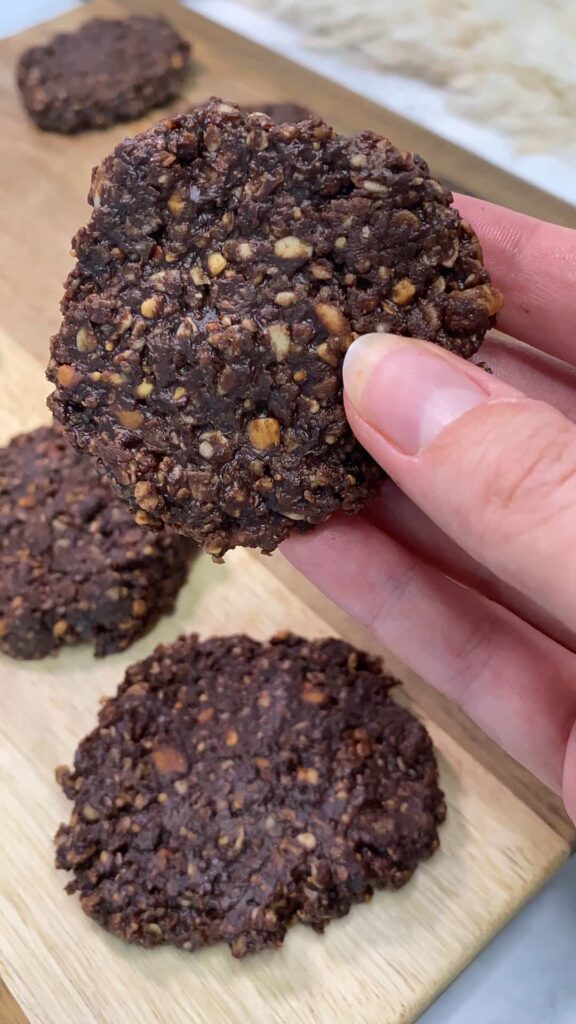
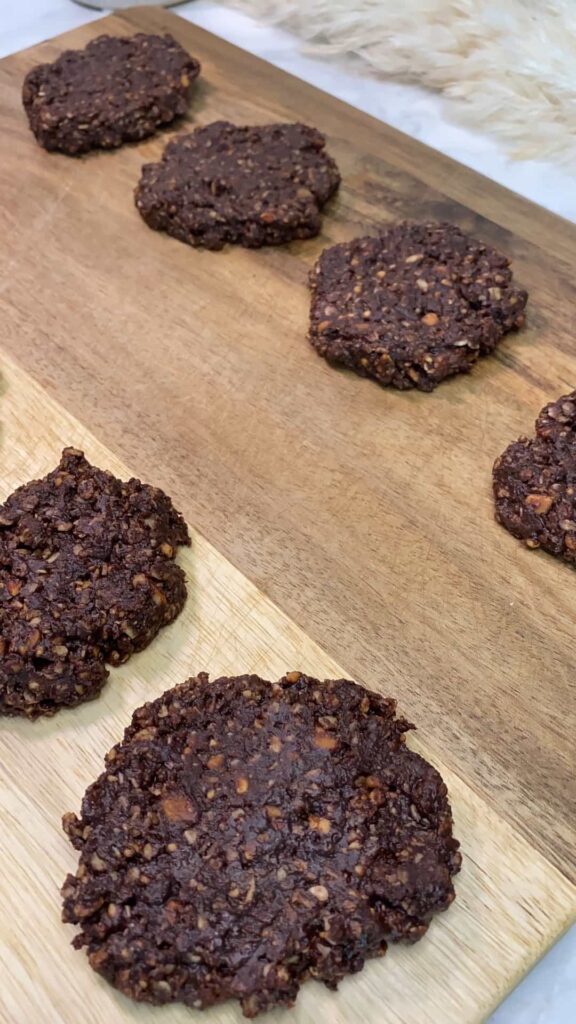
Using a spoon or cookie scoop, drop spoonfuls of the mixture onto the prepared trays. I like using a small cookie scoop to keep the size even, but any spoon will do.
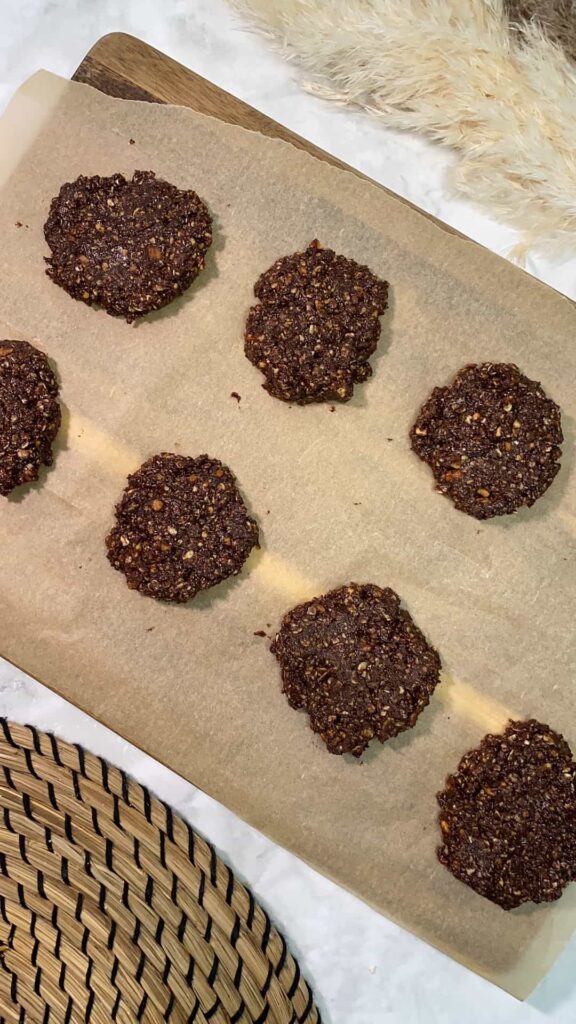
Step 5: Let Them Set
Leave the cookies at room temperature for about 30 minutes, or until they’ve cooled and hardened. You can pop them in the fridge to speed it up if you’re in a hurry.

How to Conserve This Recipe
Once the cookies have set, transfer them to an airtight container. They’ll keep well at room temperature for about 3 days, or up to a week in the fridge. I actually prefer storing them in the fridge—they stay firm and chewy without drying out.
You can also freeze them for longer storage. Just layer with parchment paper to prevent sticking, and thaw at room temp or in the fridge when you want one.
Different Ways to Serve These
These no-bake cookies are a go-to snack, especially when you need something sweet without reaching for a full dessert. I’ve packed them for road trips, snuck them into lunchboxes, and even brought them to casual get-togethers as an easy treat.
They also work great as a little post-dinner bite with a cup of tea or coffee. And since they’re made with oats and nut butter, they’re not a bad breakfast option either. You can make a batch ahead for the week and grab one on your way out the door. They’re quick, satisfying, and way better than store-bought bars.